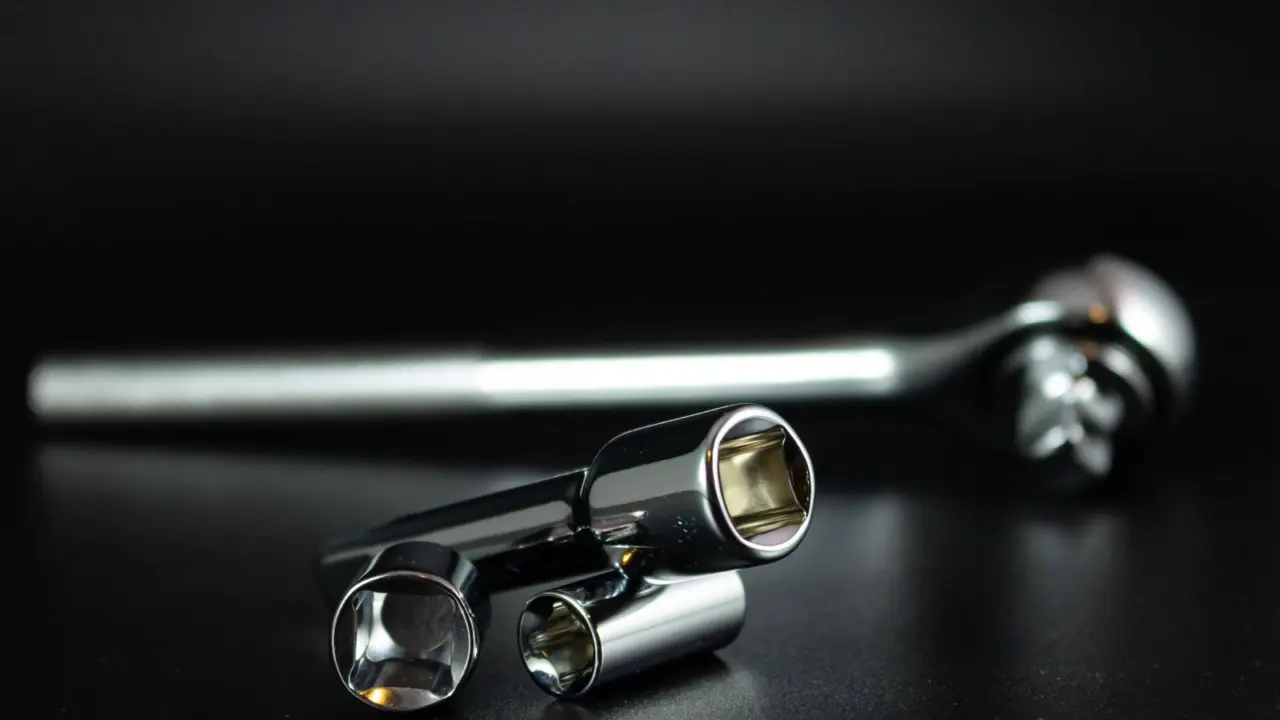
Fitting a crank-based power meter makes you wonder whether a bike torque wrench is really needed. It is: crank bolts have specified torque ranges, and guessing risks accuracy and safety.
| Item | Value |
|---|---|
| Shimano road and MTB left cranks | 12-14 N⋅m |
| Shimano Dura-Ace Track | 35-50 N⋅m |
| Stages Carbon for 30mm | 38-41 N⋅m |
| Cannondale SI | 40 N⋅m |
| Expected zero reset value (Stages) | 890 +/- 50 counts |
These figures come from Stages’ support page. Specifications can change, so check the source and your own crank’s manual before you rely on them.
Why guessing fails on a crank
A crank arm is a structural part that carries your full pedalling load on every stroke. If the fixing bolt is too loose, the arm can shift or come off while you ride. If it is too tight, you can damage the crank or the bolt.
With a power meter bonded into the arm, there is a second cost. Stages says that using a torque wrench is important both for the accuracy of the power meter and for making sure the arm cannot come loose while riding, according to its support guidance.
Feel is a poor substitute. Hand strength, lever length and bolt condition all vary, so two people tightening the same bolt “firmly” will land on different numbers. A torque wrench removes that guesswork.
Common slips are easy to list:
- Tightening by feel with a standard hex key and a long handle.
- Using a number remembered from a different crank or from a forum post.
- Tightening one side of a two-bolt fixing fully before the other.
- Skipping the clearance check and the zero reset afterwards.
Each of these is avoidable with a few minutes of preparation. The cost of a wrench is small next to a damaged carbon crank or a ride cut short.
What the manufacturer says about tools
The same Stages page is blunt: “We cannot recommend installing the Stages Power meter without a torque wrench.” Its separate Shimano install page repeats the point, noting a recommendation to use a torque wrench any time you install a Stages power meter, to prevent damage to the crank or injuries if the arm comes loose.
This is not specific to one brand. Any left-crank or full-crank meter that you bolt on is held by the same kind of fixing, and the crank maker sets the number. Stages tells you to attach the arm by following the instructions from the crank arm manufacturer, so the manual for your crank is the authority.
Torque figures for common cranks
Stages publishes a table of torque specifications for left-crank power meters. The values differ widely between systems, which is why one “standard” setting does not exist.
- Shimano road and MTB left cranks: 12-14 N⋅m
- Shimano Dura-Ace Track: 35-50 N⋅m
- Stages Carbon for 30mm: 38-41 N⋅m
- Stages Carbon for GXP: 48-54 N⋅m
- Campagnolo Ultra Torque: 42-60 N⋅m
- Cannondale SI: 40 N⋅m
- FSA Sl-K BB30: 38-41 N⋅m
Note the spread: the Shimano road figure is a fraction of the Stages Carbon GXP figure. Setting a wrench to the wrong system could badly over- or under-tighten the arm, so confirm which crank you actually own first.
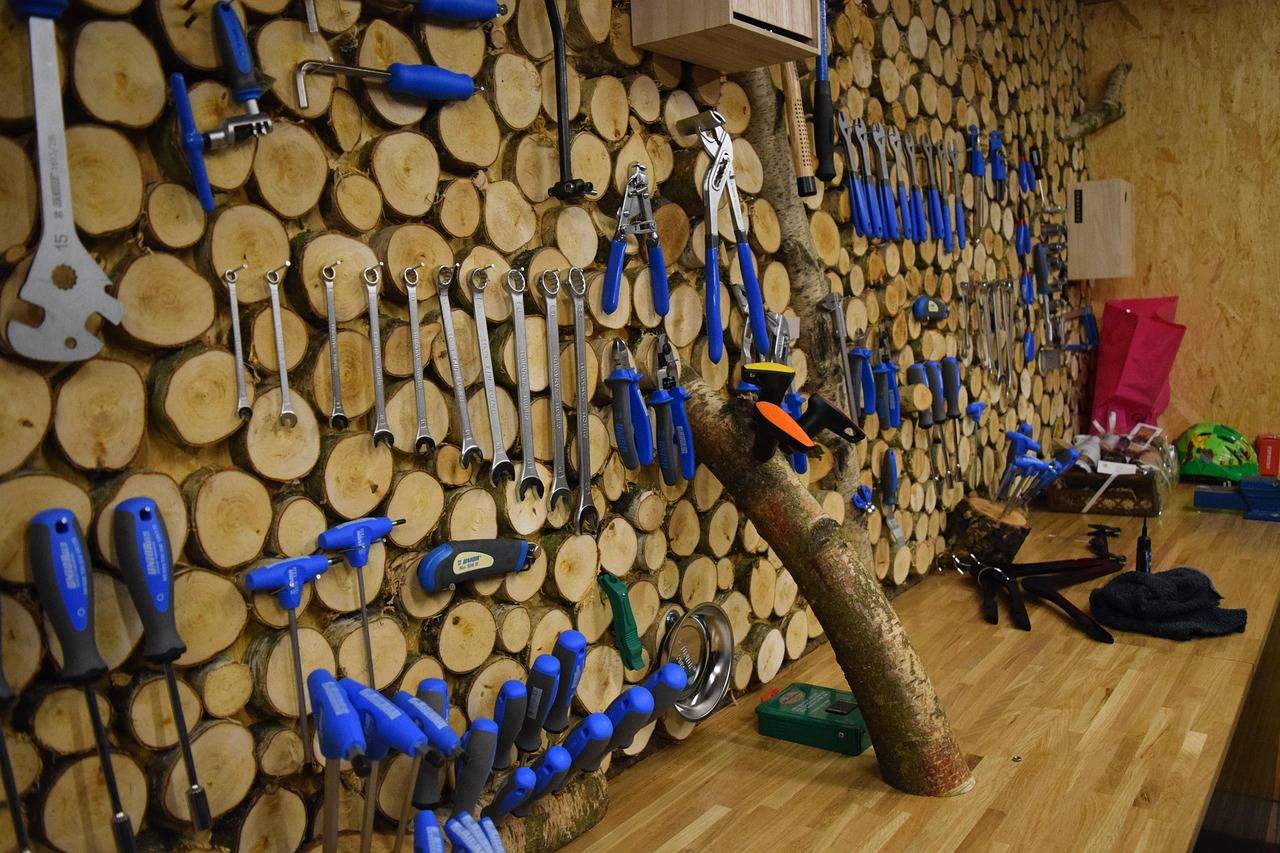
Stages also says that for detailed Shimano instructions you should search your crank model number on the Shimano manuals and technical documents website. It adds that some cranks, such as the XTR M9100, follow a different set of instructions.
A sensible install routine
You do not need workshop experience to fit an arm properly. You need the right manual, a suitable wrench and a calm, unhurried order of steps.
- Identify your crank model and find the maker’s installation instructions.
- Set your torque wrench to the value in that manual, not to a number from memory.
- Fit the arm, tighten to the specified torque, and leave the pedal off for now.
- Rotate the crank slowly through one full revolution to confirm the sensor housing does not touch the frame or other parts.
- Fit the pedal, then perform a manual zero reset.
Stages says to carefully and fully install the arm but not attach the pedal at that point, and to turn the crank slowly through one full revolution to check for contact, per its crank arm installation guide.
Zero reset after fitting
Once the arm is on, Stages says a manual zero reset is required. It is similar to zeroing a scale: it tells the meter what the reading is when no force is on the crank arm.
You can do it through the maker’s mobile app or through most cycling head units. A good result is a returned value of 890 +/- 50 counts, according to the same Stages page. If your head unit is still to be chosen, a guide to a bike computer for power meter setups covers what to look for.
Choosing a bike torque wrench and related checks
For crank work you want a wrench that can be set accurately to the low end of the range, since several common crank figures sit at 12-14 N⋅m. Check that the scale and unit (N⋅m) match the manual, and handle the tool carefully so it stays accurate.
Look for a wrench with a clear scale or a click mechanism that you can read in good light, and one that comes with a hex or socket bit that fits your crank bolt. Store it at its lowest setting if the maker advises that, and never use it to loosen stubborn bolts, since that can upset its calibration.
It is also worth keeping a short note of the torque value for each bike you own. A small label in your toolbox or a phone note saves you from searching manuals every time you swap a crank, clean a drivetrain or move a power meter between bikes.
Torque matters at other points too. Your pedals are another fastening that deserves care, and the right choice depends on your cleats and shoes, as covered in the guide to road bike pedal types. For wider equipment choices, browse the cycling gear section.
If a reading looks odd after a fit, go back through the basics before blaming the meter: the bolt torque, the clearance check and the zero reset. Most early problems trace back to one of those three steps.
This site is independent and educational. It is not affiliated with any brand named here, so treat these pages as a starting point and follow the manual from your own crank and power meter maker.
Frequently asked questions
Do I really need a torque wrench for a power meter crank?
Show answer
Stages says it cannot recommend installing its meter without one, because it affects both accuracy and safety.
What torque do Shimano road and MTB left cranks need?
Show answer
Stages lists 12-14 N⋅m for Shimano road and MTB left cranks that use two pinch bolts. Other Shimano crank designs use different fasteners and figures, so confirm against Shimano’s manual for your exact model.
Do I need to zero the meter after installing it?
Show answer
Yes. Stages says a manual zero reset is required after installation, using its app or most cycling head units.
Should I fit the pedal before checking clearance?
Show answer
No. Stages says to install the arm without the pedal first and rotate the crank one full revolution to check for contact.