Wondering which cycling gear actually works with power data? You need a power meter, a head unit or app that reads it, and a few compatible extras. Match the wireless protocols first, then everything else falls into place.
| Item | Value |
|---|---|
| Shimano pedal into crank (Park Tool table) | 35 Nm minimum |
| Shimano Hollowtech II crank pinch bolts (Park Tool table) | 9.9-14.9 Nm |
| Force a fully tightened crank bolt can provide | Over 14,000 Newtons (3,000 pounds force) |
| FTP estimate from a 20-minute test | 95% of 20-minute mean power |
| Mean bias between critical power and FTP in one study | 7 ± 13 W |
The figures come from Park Tool’s torque guide and a Frontiers in Physiology study. Specifications and recommendations can change, so check the source and your own component manuals before you rely on them.
What “works with power data” really means
A power meter measures the force you put through the pedals, crank, hub or chainring and turns it into watts. On its own it does nothing visible. Something has to receive the signal, display it, and store it for later.
That something is usually one of these:
- A bike computer mounted on your handlebars.
- A smartwatch that supports external sensors.
- A phone running a training or ride-tracking app.
- A smart trainer or indoor cycling app that reads power from the meter or the trainer itself.
Everything else in your kit, such as a heart rate strap or cadence sensor, adds context to the watts. If you are still choosing the meter itself, our guide to cycling power meters covers the types and trade-offs.
The useful way to think about a kit is as a chain. Sensor, wireless link, receiver, software, and finally the analysis you do afterwards. A weak link anywhere, usually the wireless link, is what makes gear feel “incompatible”.
Start with the wireless link
Almost every power meter talks to other devices over ANT+, Bluetooth, or both. Your meter and head unit must share a wireless protocol, and the head unit must support power sensors over it. If they do not, no setting will fix it.
TrainerRoad’s support page states that, if not otherwise marked, devices on its list are compatible over both Bluetooth and ANT+. Some are marked as one protocol only, and the page flags that the Favero Assioma needs ANT for dual-power, though it will pair over Bluetooth, so check the current manufacturer notes for your model. You can read the TrainerRoad compatibility list for the current details.
Our explainer on ANT+ vs Bluetooth cycling sensors goes through the differences in more depth. For buying decisions, the practical rules are short:
- Prefer a meter that broadcasts both protocols, because it connects to the widest range of devices.
- Prefer a head unit that receives both, for the same reason.
- Check any “ANT only” or “Bluetooth only” label on a sensor before you buy.
- Remember that phones usually speak Bluetooth, while many older head units and trainers lean on ANT+.
Is ANT+ going away?
In January 2025, DC Rainmaker reported that Garmin announced a policy change that effectively and officially ceases the development of new ANT+ standards. The same article says that none of these ANT+ changes will impact consumers in any way, anytime soon, and that companies will continue to make ANT+ devices for some time to come. That was the situation as of that January 2025 post, so check the DC Rainmaker article for the full context.
The sensible takeaway is not to panic. Existing ANT+ gear keeps working, but new purchases are safer when they include Bluetooth too.
Head units, watches and phones
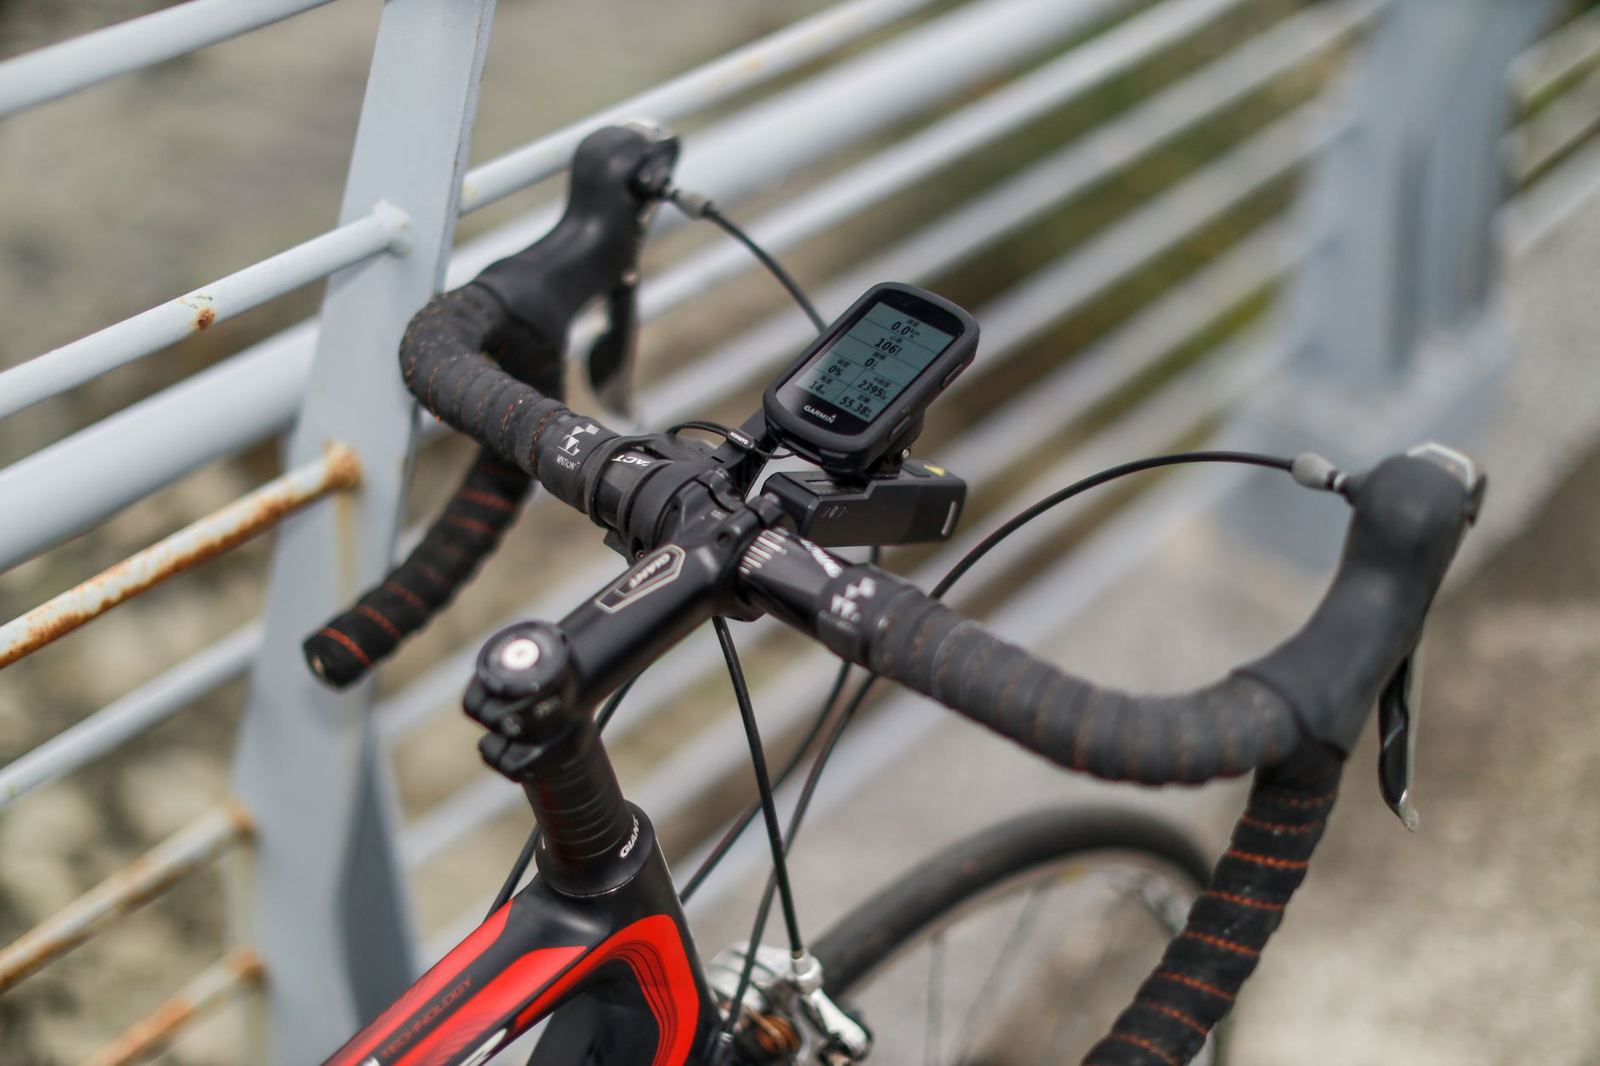
The receiver is where you see your power live, so it deserves thought. A dedicated bike computer for power meter use is the most common choice, since it is built for bright screens, long battery life, and handlebar mounting.
When comparing receivers, look at the features that matter for power rather than the marketing list:
- Sensor support: does it pair with your meter’s protocol, and can it handle several sensors at once?
- Data screens: can you show current power, a rolling average, and lap power on one page?
- Battery life: long rides with several sensors connected drain a head unit faster.
- File export: can you get your ride files into the analysis software you like?
- Left and right data: if you use a dual-sided meter, does the unit record the balance?
A phone works as a cheap starting point, mainly over Bluetooth. A watch can double as a head unit if it supports external power sensors. Neither replaces a purpose-built unit on a long outdoor ride, but both are fine for testing whether you will use power data at all.
Whatever you choose, set up your power data fields before you ride. Fiddling with menus mid-ride is how people miss intervals.
Power numbers that help on the road
Raw instant power jumps around from second to second, so it is a poor guide to pacing. Most riders set up a smoothed value instead, such as a short rolling average, and a lap average that resets each time they start an effort. Both are usually one setting away on a modern head unit.
A good starting page has three or four fields and no more. Smoothed power, lap power, elapsed time, and either cadence or heart rate are plenty. More fields mean smaller text, and smaller text is harder to read when you are working hard.
Think about mounting and weatherproofing too. A head unit that sits on a stem or out-front mount keeps the screen in your line of sight, and a unit with physical buttons is easier to use with wet or gloved hands than a touchscreen alone.
Storing and analysing your rides
Reviewing power data afterwards adds insight into your training over time. Check that your head unit or app can sync automatically to the analysis platform you prefer, or export standard ride files you can upload yourself. Without that step, your rides sit on one device and the long-term trends you want stay hidden.
It also pays to keep your own simple log. Note which meter, trainer or head unit recorded each ride, especially if you switch between indoor and outdoor power sources. When a number looks odd months later, that note often explains why.
Indoor gear: trainers, apps and sensors
Riding indoors is where power data becomes very consistent, because there are no hills, wind, or traffic to disturb the numbers. A smart trainer measures power itself and can adjust resistance automatically, so you may not need a separate meter at all for indoor work.
TrainerRoad’s list shows how this works in practice. Some trainer models give full resistance control over a given protocol, while others pair only as a power meter over Bluetooth, with resistance control limited to ANT. That is exactly the kind of detail to confirm before you buy.
Software comes next. The indoor cycling apps available today range from structured workout platforms to virtual worlds, and most accept power from a trainer or a separate meter.
A basic indoor kit usually includes:
- A smart trainer, or a regular trainer paired with a power meter on your bike.
- A device to run the app, such as a tablet, laptop, or phone.
- A fan, since indoor riding is hot, and a towel for the same reason.
- Optional sensors for heart rate and cadence.
One caution is worth keeping in mind. If you own a power meter on your bike and a smart trainer, the two will rarely read exactly the same number. Pick one as your reference for training, and stay consistent.
Cadence and heart rate sensors
Power tells you the work rate. Two other numbers explain how you produced it. A cadence sensor records pedalling rate, and many power meters already include cadence, which means you may not need a separate sensor.
A heart rate monitor for cycling adds the cost side of the equation: how hard your body worked to produce those watts. Watching the two together lets you see fatigue, heat, and fitness changes that watts alone hide.
Chest straps and arm-worn optical sensors both exist. TrainerRoad’s list notes that heart rate monitors come in ANT only, Bluetooth only, and dual versions, so the same compatibility check applies here as it does for power.
Placement affects how you carry sensors. A chest strap sits against the skin and is usually the steadier signal in hard intervals, while an arm-worn optical band is more comfortable for long easy rides. Some riders keep one of each and choose by session type.
If you already have a pedal-based or crank-based meter with cadence built in, a separate cadence sensor is mostly a backup. It becomes useful when you ride a trainer without a meter, when you swap bikes often, or when a hub-based meter does not report cadence at all. Standalone sensors are cheap and attach to the crank arm or shoe, but they add one more battery to remember.
A tidy approach is to decide what you want to learn first:
- Pacing and intervals: power is the key number.
- Smooth pedalling and gear choice: add cadence.
- Recovery and fatigue: add heart rate.
Pedals, cranks and the tools to fit them
If your power meter lives in the pedals or crank, the parts around it matter. The wrong pedal body, shoe cleat or crank standard can rule out a meter before you start. Our guide to road bike pedal types explains the cleat systems that pedal-based meters build on.
Fitting is a precision job. Park Tool notes that a fully tightened crank bolt can provide over 14,000 Newton force (3,000 pounds force) as it holds the arm in place, and that a crank ridden with a loose mounting bolt can be damaged. A bike torque wrench is the tool that keeps these fasteners in their safe range.
Park Tool’s table lists these Shimano values:
- Pedal into crank: 35 Nm minimum.
- Compression slotted crank pinch bolts, Hollowtech II: 9.9-14.9 Nm.
- Crank adjusting cap, Hollowtech II: 0.5-0.7 Nm.
Those are generic table values. Your power meter maker may specify something different for its own parts, so follow the manual that came with your meter. A crank-arm meter in particular often has its own instructions, and the safest rule is that the manufacturer’s number beats a table.
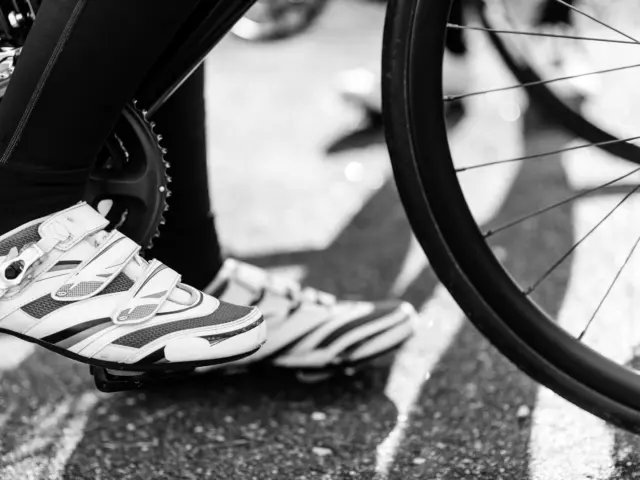
Cleats, shoes and pedals also affect the power data you collect. A stable platform under the foot keeps the signal consistent, and worn cleats that let the foot rock or slip can make pedal-based readings look noisy. Replace worn cleats before you blame the meter.
Frame and drivetrain compatibility deserves a check as well. Crank-based meters depend on spindle and bottom bracket standards, chainring meters depend on bolt patterns, and hub meters depend on axle and cassette fitting. Write down your bike’s standards, or photograph the parts, before you start comparing models.
Think about swapping bikes too. Pedal-based meters move between bikes in minutes, while crank and chainring meters stay with one bike unless you move the whole assembly. If you own a road bike and a trainer bike, that single point can decide which meter suits you best.
A torque wrench that does not reach down to the very low range will not suit the small adjusting cap, so check the range printed on the tool before you buy. Also remember that torque figures sit in different units. Park Tool offers conversions such as Nm = ft-lb x 1.356 if your wrench uses another scale.
Using the data and building a kit
Once the kit works, the next question is what to do with the numbers. Many riders begin with FTP, short for functional threshold power. In one Frontiers in Physiology study, FTP was calculated as 95% of the 20-minute mean power achieved during the time trial.
Treat that as an estimate, not a law. The same study found a 91.7 % probability that critical power (256 ± 50 W) was higher than FTP (249 ± 44 W), with a mean bias of 7 ± 13 W. The authors say caution should be exercised when choosing between FTP and critical power for performance analysis.
In practice, that means you should pick one method and keep it for a while. Changes over time tell you more than any single test number. Our guide to training with power shows how to turn the number into zones and sessions.
A simple pre-ride checklist
- Confirm the power meter battery and your head unit battery are charged.
- Wake the meter by pedalling, then check that the head unit sees it.
- Do a zero offset or calibration if the maker recommends it.
- Confirm your data screen shows the fields you planned.
- Check that crank and pedal fasteners were torqued to the maker’s specification.
Doing this takes a minute and avoids the most common problem of all, which is riding for an hour and discovering that nothing was recorded.
Building a kit without overspending
The best order of purchase is rarely the one in the shop’s category menu. Spend first on the item that gives the most reliable power signal, then on a receiver that shows it clearly, then on extras.
Here is a sensible sequence for most riders:
- Choose a power source: a meter on the bike, or a smart trainer for indoor-only use.
- Choose a receiver that speaks the same protocol as that source.
- Add the software you will use for analysis and workouts.
- Add a heart rate strap if you want the extra context.
- Buy a torque wrench before you fit any crank or pedal meter yourself.
Second-hand gear can be good value, but check the protocol label and battery type, because older models are more likely to be ANT only. Whatever you buy, keep the model names handy so you can check them against the compatibility lists above.
This site is independent and educational. It is not affiliated with any brand mentioned, and it does not sell products or services. Always check a maker’s own documentation for the final word on your equipment.
Frequently asked questions
Do I need both ANT+ and Bluetooth?
Show answer
Not strictly, but it makes life easier. Pairing needs a common protocol and a head unit that supports power sensors over it. Dual-protocol gear simply reduces the chance of a mismatch, especially if you also use a phone or trainer app.
Can a smart trainer replace a power meter?
Show answer
For indoor riding, yes, because the trainer measures power itself. Outdoors you still need a meter on the bike. If you use both, expect small differences between them and pick one as your reference.
Is a torque wrench really necessary for a power meter?
Show answer
If you fit pedals, cranks or a crank-arm meter yourself, it is the safest route. Park Tool warns that a loose crank bolt can damage a crank, and over-tightening is just as harmful. Follow the manufacturer’s specification for your parts.
Is the 95% FTP rule accurate?
Show answer
It is a common convention, not a precise measurement. One study found critical power was higher than FTP calculated this way, with a mean bias of 7 ± 13 W. Use it consistently to track change rather than treating it as absolute truth.
Will my ANT+ sensors stop working?
Show answer
As of DC Rainmaker’s January 2025 article, development of new ANT+ standards has ceased, but the article says it will not affect consumers anytime soon. Existing ANT+ sensors keep working.