Wondering whether cycling power meters are worth the money? They measure your mechanical power output and show it in watts. For most riders, that makes training honest and repeatable.
| Item | Value |
|---|---|
| Typical accuracy claim, crank-based meters | +/- 1% |
| Tolerance on less expensive meters | Up to 2-3% |
| FTP definition | Highest average power sustainable for one hour |
| Standard FTP test estimate | 95% of your 20-minute average power |
| Zone 2 (Endurance) range | 56-75% of FTP |
| Zone 4 (Anaerobic Threshold) range | 91-105% of FTP |
Figures come from Bikerumor’s power meter guide and BikeTips’ FTP explainer. Brand claims and testing methods can change, so check the source before you rely on them.
What a power meter actually measures
A power meter is a set of strain gauges that sense how much the metal flexes when you push on it. Circuitry and software turn that flex into a number, which is then sent to your cycling computer, phone or watch. Bikerumor describes it this way: “Circuitry and software then turn that data into a number that can transmit via ANT+ or Bluetooth (or both) to your cycling computer, smartphone or fitness watch.”
Power is force multiplied by speed of movement, so the meter has to know both how hard you press and how fast the crank turns. The result is reported in watts, a direct measure of the work you are doing right now. If you want the physics in more depth, read about how do cycling power meters work.
Why does that matter? Most other numbers you can record on a ride are a reaction to effort, or are shaped by things you cannot control.
- Speed changes with wind, gradient, road surface and drafting.
- Heart rate drifts with heat, fatigue, caffeine, sleep and stress, and it lags behind a sudden effort.
- Perceived effort is useful but easy to fool on a bad day.
- Power responds immediately and means the same thing on a flat road, a climb or a windy day.
That consistency is the real appeal. A hard climb and a hard sprint can both be described honestly, and a result from last month can be compared with one from today.
The main types of cycling power meters
The big choice is where on the bike the measurement happens. Bikerumor focuses on four common options: spider-based, crank arm, spindle (axle) and pedal meters. Hub-based meters, which sit in the rear wheel, are a fifth route that many riders also consider.
Each location changes the price, the ease of moving the meter between bikes, and how much of your pedalling it captures. Here is a plain-language summary of each.
Crank and spider meters
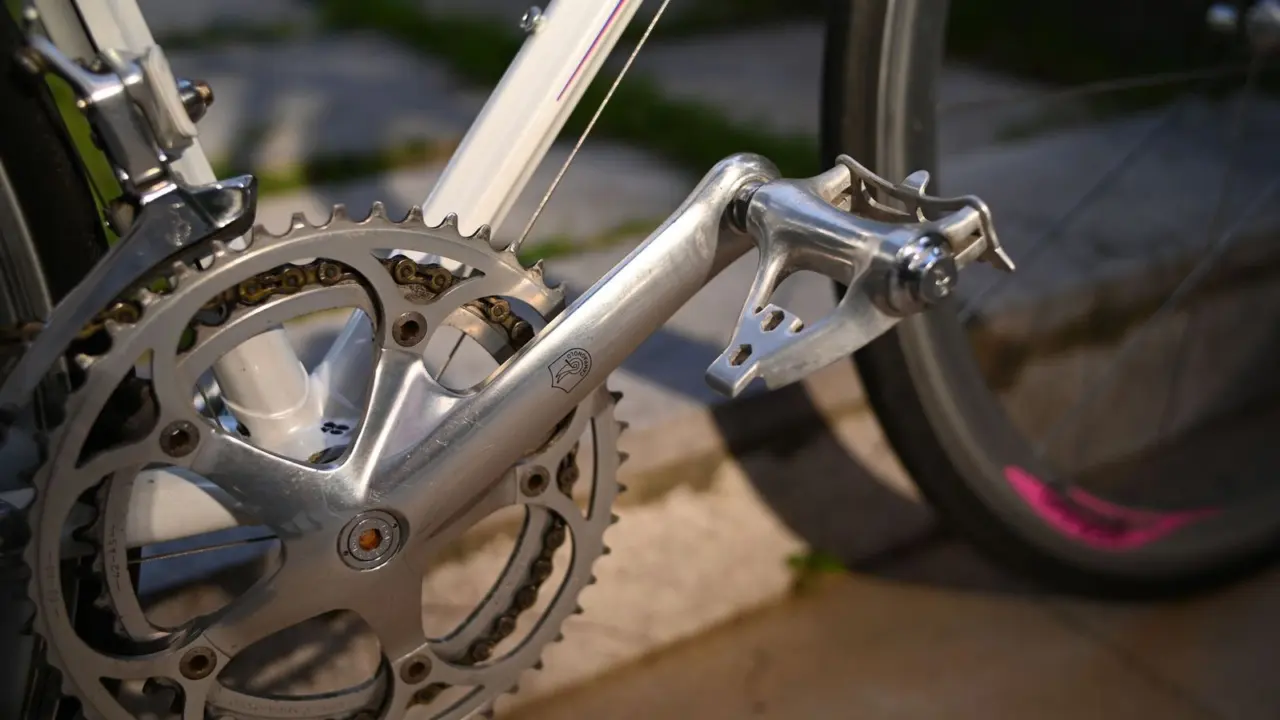
Spider-based meters put the strain gauges on the arms that connect the chainrings to the crank. Because they sit where all the drive force passes through, they read your total output from both legs. Bikerumor says these options “are widely regarded as very accurate, yet more expensive than crank arm-based power solutions.”
Crank arm meters usually bond a gauge to the inside of the left arm. They are an inexpensive way to upgrade an existing crankset and add a meter, and a few options give true separate left and right readings. The full trade-offs are covered in the guide to the crank based power meter.
Pedal meters
Pedal systems put the sensors in the pedal body or spindle, so you can swap them between bikes in a couple of minutes. That portability is the main reason people choose them, especially riders with a road bike and a turbo trainer bike. Details on fitting, crank clearance and exposure to knocks are in the guide to power meter pedals.
Spindle meters
Spindle or axle meters hide the gauges, battery and electronics inside the crankset axle. Bikerumor calls them “great for weather protection and super light.” They tend to require a compatible crankset standard, so check bottom bracket and frame fit before you buy.
Hub meters
Hub meters measure torque in the rear wheel. They are easy to swap between bikes that share a wheel standard, and they keep working through crank changes. Because they sit further down the drivetrain, they can read slightly differently from a crank unit, as explained in the page on the hub based power meter.
Single-sided or dual-sided?
A one-sided meter measures one leg and doubles it, assuming your legs share the load equally. A dual-sided meter measures both. Bikerumor notes that a meter without separate gauges for each side “relies on software to figure out what which leg is doing what” and most simply show a total.
The question of balance, cost and when it matters is the subject of the comparison of single sided vs dual sided power meter.
| Type | Strength | Watch out for |
|---|---|---|
| Spider | Total power from both legs, highly regarded accuracy | Higher price, needs a compatible crankset |
| Crank arm | Inexpensive upgrade to an existing crankset | Often left leg only |
| Spindle | Weather protected and light | Compatibility with your crankset |
| Pedal | Easy to move between bikes | Exposed to knocks, pedal system must suit you |
| Hub | Works with any crankset, swaps with the wheel | Tied to a specific wheel and rear hub standard |
The strengths above draw on Bikerumor’s guide, while the hub row reflects general drivetrain logic. Models vary, so check the maker’s specification before you buy.
Think of the table as a starting filter, not a verdict. A pedal meter that suits a rider with two bikes may be wrong for someone who only ever rides one, and a spider meter may be a waste if your crankset is staying put. Matching the type to your habits will serve you better than chasing the most expensive option.
How accurate are cycling power meters?
Bikerumor reports that “most brands claim accuracy between +/- 1% for crank-based power meters, and the tolerance can go out as much as 2-3% for less expensive options.” In practice, a meter claiming one percent accuracy should show something close to the truth when you ride at a steady output.
That is plenty good for pacing and training. What matters more than a perfect figure is that the meter repeats itself, so a number today means the same as a number next month.
There are several reasons real-world readings drift away from a brand’s claim:
- Temperature changes can shift the strain gauge baseline, so a cold start and a hot afternoon may differ.
- An incorrect zero offset can make power readings too high or too low.
- Installation errors, such as wrong torque on a pedal or crank bolt, change how force travels through the sensor.
- Single-sided estimates assume equal leg output, which many riders do not have.
- Drivetrain losses mean a hub meter and a crank meter on the same bike will not agree exactly.
Different meters on the same bike are very unlikely to match to the watt. Keep one source of truth for training, and do not compare your numbers directly with a friend’s. A deeper look at testing, independent comparisons and what the percentages mean is in the guide to power meter accuracy.
Calibration, batteries and setup
The single most useful habit is a zero offset calibration. Bikerumor explains that calibrating “simply tells it where its ‘zero’ point is so that it knows what strain the weight of the pedal and anything else is placing on the meter before you apply any force.” It advises: “After that, it’s a good idea to occasionally calibrate it to make sure it still has an accurate idea of ‘zero’.”
The routine is quick. It does not replace a factory calibration, but it removes drift that builds up from temperature and use.
- Pair the meter with your cycling computer or app.
- Take the weight off the pedals, with the cranks still, the bike upright or on a stand, and the cranks positioned as the manufacturer specifies.
- Start the zero offset or calibrate command in the head unit menu.
- Wait for confirmation that calibration succeeded, and check any returned offset value against the manufacturer’s guidance.
If the value looks wildly off after a calibration, recheck your installation before blaming the meter. The page on power meter calibration goes through the process in more detail, including when a zero offset is not enough.
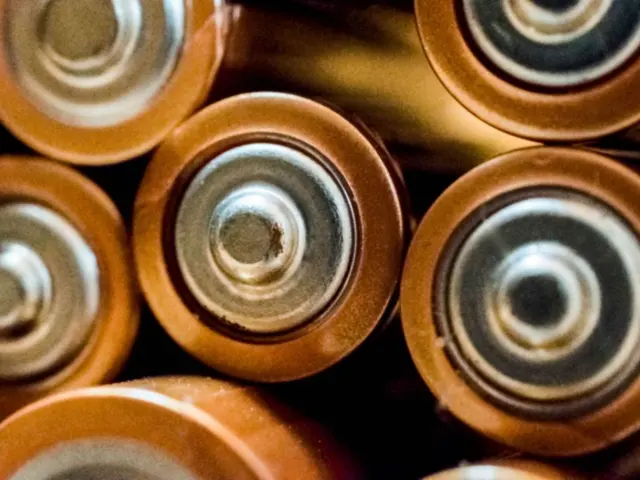
Batteries are the other routine job. Meters run on coin cells, on AAA cells or on a rechargeable battery, and the right answer depends on the model and how much you ride. Check your head unit for a low battery warning, carry a spare cell if yours uses one, and read the manual for the expected runtime. The full picture of runtime and charging habits is in the guide to power meter battery life.
Connectivity is easier than it used to be. Most meters send data over ANT+ and Bluetooth, so they pair with bike computers, watches, indoor trainer apps and phones. Check that your head unit supports the protocol the meter uses before you buy.
Using power: FTP and training zones
A meter is only a measuring tool until you give the numbers a job. The usual starting point is functional threshold power. BikeTips describes FTP as “the highest power output you can sustain for one hour – measured in watts.”
Riding for an hour at the limit is unpleasant, so shorter tests exist. BikeTips says “the standard test is a 20-minute all-out effort, with FTP estimated as 95% of your average 20-minute power.” It also lists the 8-minute test and the ramp test as the other common options.
The ramp test is quicker and less draining. BikeTips notes that “because ramp tests are quicker and less arduous, you can do them more often – which means they can actually be more helpful for regularly monitoring your FTP progress.”
Once you have an FTP, training zones are set as percentages of it. BikeTips lists these:
| Zone | Percentage of FTP |
|---|---|
| Zone 1 (Active Recovery) | Below 55% |
| Zone 2 (Endurance) | 56-75% |
| Zone 3 (Tempo) | 76-90% |
| Zone 4 (Anaerobic Threshold) | 91-105% |
| Zone 5 (VO2 Max) | 106-120% |
| Zone 6 (Anaerobic Capacity) | Above 121% |
| Zone 7 (Neuromuscular) | Max effort |
The zone bands come from BikeTips’ FTP guide; other coaches use slightly different cut-offs, so check which model your software uses.
These bands let you structure a week: easy rides really easy, hard intervals really hard, and fewer grey-zone rides in the middle. Most of the benefit comes from using them consistently, not from fine-tuning the exact percentages. For session ideas, pacing and progress tracking, see the guide to training with power.
Beyond zones, several other numbers are worth watching as you gain experience:
- Average power for a ride or an interval, which shows whether you paced it well.
- Normalised or weighted power, which estimates the cost of a variable ride.
- Best efforts over set durations, which track fitness over months.
- Power-to-weight, which matters most on climbs.
How to choose your first power meter
Start with the bike and the budget, not the brand. A meter you can fit to the bike you ride most often, and read on the head unit you already own, will be used more than a clever one that does not fit.
Work through these questions in order:
- Which bikes will use it? One bike points to a crank or spider meter. Several bikes point to pedals or a wheel.
- What compatibility do you need? Check crankset standard, bottom bracket, pedal cleat system or hub spacing.
- One side or both? One side is fine for most training. Dual-sided data helps with rehab, imbalance and fine detail.
- Which protocols does your head unit use? ANT+ and Bluetooth cover most.
- What is your budget for the meter, fitting and spare batteries?
The cheaper options tend to be one-sided crank arms, which Bikerumor calls an inexpensive way to upgrade an existing crankset. If you ride in dusty, muddy or rocky conditions, think about how exposed the sensors are.
If you are building a wider kit list around the meter, such as a computer, trainer, shoes and tools, the overview of cycling gear is a sensible next step.
Common beginner mistakes
The first mistake is chasing a big number. A meter that reads high does not make you faster, and a meter that reads low does not make you slower.
The second is skipping calibration and then blaming the meter. A zero offset before each ride, or at least before each important ride, keeps readings consistent.
The third is changing equipment and then comparing like with like. If you switch meters, treat your old FTP as an estimate and retest. Other habits to avoid:
- Setting zones from a poorly paced test and then training to the wrong numbers.
- Comparing indoor and outdoor power without allowing for cooling, position and fatigue.
- Ignoring a low battery warning until data goes missing mid-ride.
- Looking only at the live number and never at the file afterwards.
Used patiently, a meter becomes a record of what you did, and that record is far more useful than a single number on a screen.
Frequently asked questions
Do I need a power meter to get fitter?
Show answer
No. Riders improve with heart rate, perceived effort or simply riding more. A meter makes the work measurable and repeatable, which helps with structured training and pacing.
Which type of power meter is the most accurate?
Show answer
Bikerumor says spider-based options are widely regarded as very accurate, while most brands claim about +/- 1% for crank-based meters. Installation and calibration affect real-world results as much as the type does.
Is a single-sided power meter good enough?
Show answer
For most training it is. It assumes both legs contribute equally, so it can mislead if you have a strong imbalance or an injury.
How often should I calibrate?
Show answer
Bikerumor advises calibrating occasionally to keep an accurate idea of zero. Many riders do a quick zero offset before each ride, and always after changing temperature a lot or fitting the meter to another bike.
How do I find my FTP?
Show answer
BikeTips says the standard test is a 20-minute all-out effort, with FTP estimated as 95% of your average 20-minute power. The ramp test is a quicker alternative that you can repeat more often.